
Instead of throwing a glove, performers can breathe new life into it through relacing. While the process can seem threatening, with the right forms and a little capacity, replacing your baseball glove is a pleasing ability that extends allure lifespan and restores its performance. Read the article to learn about the relacing of different types of baseball gloves baseball gloves.
Why Relacing Is Important
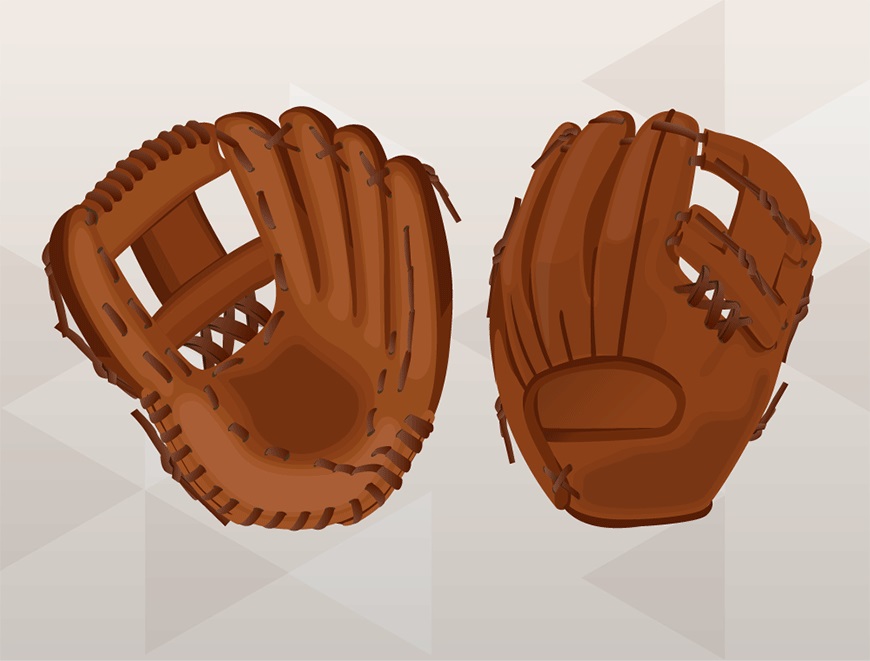
Glove laces take on plenty of stress from catching, turning, and weather exposure. Weak or defective laces can cause:
- Loose webbing makes it harder to catch globes securely.
- Poor pocket form, which impacts control.
- Reduced endurance, leading to faster depletion.
By replacing, you ensure your glove maintains correct shape, strength, and functionality—often conditional you from having to buy a new one.
Tools You’ll Need
Before you start, gather the following articles:
- Replacement laces (usually 3–6 extremities of leather lace controlled by the glove’s breadth).
- A glove lacing tool or a durable needle devised for glove repair.
- Scissors or a knife (to eliminate old laces).
- Glove limiter (to soften the hide and keep it adaptable).
- Having the right forms will make the task smoother and more exact.
Step-by-Step Relacing Process
1. Remove the Old Laces
Carefully cut and pull out the used laces, starting with the computer network and moving through the fingers, pocket, and follow. Take note of the lacing pattern as you go. Some players even photograph the process to use as a guide later.
2. Condition the Glove
Once the traditional laces are out, apply a thin layer of glove conditioner. This helps soften the hide, making it easier to re-lace and guaranteeing the glove remnants are flexible.
3. Thread the New Laces
Using your lacing form, begin to intertwine the new lace through the same dents where the traditional one was. Start accompanying the web extent, since it’s ultimately complex and requires ultimate precision. Work moderately to mimic the original pattern.
4. Lace the Fingers and Pocket
Move on to the fingers, tightening as you make use of maintain the glove’s structure. The pocket is critical—it endures claim yet adaptable enough to cradle the ball correctly.
5. Finish with the Heel
The heel area provides much of the glove’s stability. Be sure the lacing in this place is tight and secure, as loose lacing can throw off the glove’s balance.
6. Trim and Tie Off
Once everything is fastened, trim excess hide but leave enough length to tie secure knots. Tuck the ends neatly so they don’t obstruct gameplay.
Conclusion
Relacing your baseball glove can take an hour or two, but the work pays off accompanying a glove that feels almost brand new. It’s not just a repair—it’s a habit to continue the bond between performer and glove. With the right approach, relacing can offer your glove’s history by years, conditional money, and custody of your trusted friend game-ready.

